Tail
- Row 1: 9 single crochets in magic ring (9)
- Rows 2-5: 9 single crochets in each row
Finish with a slip stitch and cut the yarn, leaving a tail for sewing.
Ears (Make 2)
- Row 1: 6 single crochets in magic ring (6)
- Row 2: 6 increases (12)
Finish with a slip stitch and cut the yarn, leaving a tail for sewing.
Body and Legs (Worked as One Piece)
Legs (Make 2)
Using dark brown yarn:
- Row 1: 7 single crochets in magic ring (7)
- Row 2: 7 single crochets
- Switch to beige yarn.
- Rows 3-5: 7 single crochets in each row
For the second leg, do not cut the yarn. Instead, chain 4 stitches and join them to the first leg with a slip stitch.
Body
Now continue with the body:
- Row 6: Increase, 5 single crochets, increase, 4 single crochets, increase, 5 single crochets, increase, 4 single crochets (Total 26 stitches)
- Rows 7-10: 26 single crochets in each row
- Row 11: Decrease, 5 single crochets, decrease, 4 single crochets, decrease, 5 single crochets, decrease, 4 single crochets (Total 22 stitches)
- Rows 12-14: 22 single crochets in each row
- Row 15: Decrease, 4 single crochets, decrease, 3 single crochets, decrease, 4 single crochets, decrease, 3 single crochets (Total 18 stitches)
- Rows 16-17: 18 single crochets in each row
Cut the yarn and hide the end.
Use pastel chalk to tint the back and create a belly shape.
Arms (Make 2)
Using brown yarn:
- Row 1: 7 single crochets in magic ring (7)
- Row 2: 7 single crochets
- Switch to beige yarn.
- Rows 3-9: 7 single crochets in each row
Cut the yarn, leaving a tail for sewing. Attach to the body.
Scarf
The scarf is knitted using the “seed stitch” pattern.
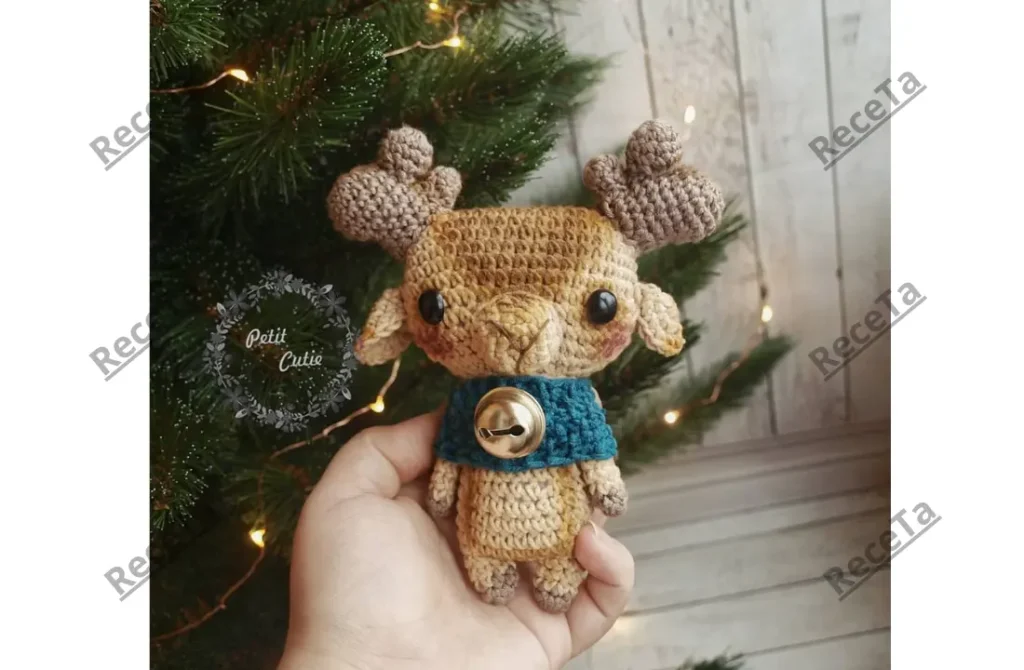
This pattern results in a lovely, handmade crochet moose perfect for gifting or adding to your own collection. Enjoy the process and feel free to share your creations!