Front Paws + Body (Make 2 Paws, then Body):
- Row 1: 6 sc in a magic ring (6)
- Row 2: [Increase] x 6 (12)
- Row 3: [5 sc, increase] x 2 (14)
- Rows 4-11: 14 sc for 8 rows (no changes)
For the first paw, fasten off the yarn and cut.
For the second paw, do not cut the yarn—continue crocheting the body.
- Row 1: Ch 2, attach the first paw at any point, and crochet 14 sc along the first paw, 2 sc along the chain, 14 sc along the second paw, and 2 sc along the chain (32)
- Row 2: [15 sc, increase] x 2 (34)
- Row 3: [16 sc, increase] x 2 (36)
- Rows 4-12: 36 sc (9 rows, no changes)
- Row 13: [5 sc, decrease] x 6 (36)
- Row 14: [4 sc, decrease] x 6 (30)
- Row 15: [3 sc, decrease] x 6 (24)
- Row 16: [2 sc, decrease] x 6 (18)
- Row 17: [1 sc, decrease] x 6 (12)
- Row 18: [decrease] x 6 (6)
Stuff the body as you go along.
Fasten off the yarn and hide the tail inside the body.
Back Paws (Make 2):
- Row 1: 6 sc in a magic ring (6)
- Row 2: [Increase] x 6 (12)
- Row 3: [5 sc, increase] x 2 (14)
- Rows 4-9: 14 sc for 6 rows (no changes)
Fasten off and leave a tail for sewing the paws to the body.
Stuff the paws lightly.
Tail:
- Row 1: 6 sc in a magic ring (6)
- Rows 2-13: 6 sc for 12 rows (no changes)
The tail is not stuffed, but you can insert a wire inside for shape if you prefer.
Fasten off and leave a tail for sewing the tail to the body.
Assembly and Finishing Touches:
- Attach the Ears: Sew the ears to the head between rows 2 and 10.
- Place the Eyes: Attach the eyes between rows 10 and 11, approximately 4-5 stitches apart. (I used 6mm safety eyes.)
- Create the Nose: Embroider the nose with pink thread between rows 11 and 12.
- Sew the Head: Attach the head to the body, slightly angled with the face facing you.
- Sew the Back Paws: Attach the back paws at a slight angle under the body.
- Sew the Tail: Insert the wire into the tail (optional), then sew it to the body.
Final Touches:
- You can add any extra details like whiskers with embroidery thread or small beads for decoration.
- If making a keychain or charm, attach the keychain hardware to the top of the head or back.
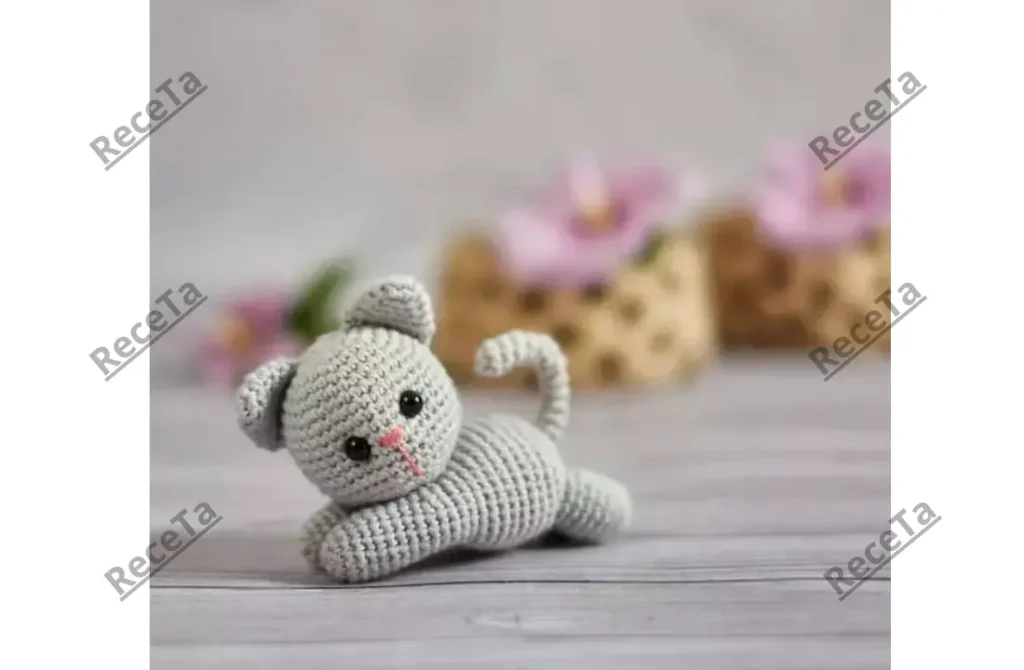
Now your adorable Amigurumi Kitten is ready to be used as a keychain, accessory, or gift! Enjoy your little crocheted companion. 😊
This pattern is simple and ideal for beginners or for quick, small projects like keychains or accessories. Happy crocheting!