4. Tail
- Row 1: 6 sc in KA
- Row 2: 6 inc = 12 sc
- Row 3: 12 sc
- Row 4: 6 dec
5. Legs-Body-Head
Start with the legs:
- Row 1: 6 sc in KA
- Row 2: (1 sc, inc) x 3 = 9 sc
- Row 3-5: 9 sc (3 rows)
- Tie off the first leg, leave the yarn for the second leg, and crochet the second leg similarly. Don’t cut the yarn, and then make a chain of 3 vp.
- Row 6: 9 sc, 3 sc in vp, 9 sc, 3 sc in vp = 24 sc
- Row 7: (3 sc, inc) x 6 = 30 sc
- Row 8: (4 sc, inc) x 6 = 36 sc
- Row 9: (5 sc, inc) x 6 = 42 sc
- Row 10-14: 42 sc (5 rows)
- Row 15: 8 sc, dec, 18 sc, dec, 12 sc = 40 sc
- Row 16: (8 sc, dec) x 4 = 36 sc
- Row 17: (7 sc, dec) x 4 = 32 sc
- Row 18: (14 sc, dec) x 2 = 30 sc
- Row 19-20: 30 sc (2 rows)
- Row 21: (3 sc, dec) x 6 = 24 sc
- Row 22: 24 sc
- Row 23: (2 sc, dec) x 6 = 18 sc
Now attach the arms.
- Row 24: 4 sc, (3 sc with arm) 5 sc, (3 sc with arm) 3 sc
- Row 25: 18 sc
6. Head
- Row 26: 18 inc = 36 sc
- Row 27: (5 sc, inc) x 6 = 42 sc
- Row 28: (6 sc, inc) x 6 = 48 sc
- Row 29-34: 48 sc (6 rows)
- Row 35: (6 sc, dec) x 6 = 42 sc
- Row 36: 42 sc
- Row 37: (5 sc, dec) x 6 = 36 sc
- Row 38: (4 sc, dec) x 6 = 30 sc
- Row 39: (3 sc, dec) x 6 = 24 sc
- Row 40: (2 sc, dec) x 6 = 18 sc
- Row 41: (1 sc, dec) x 6 = 12 sc
- Row 42: 6 dec
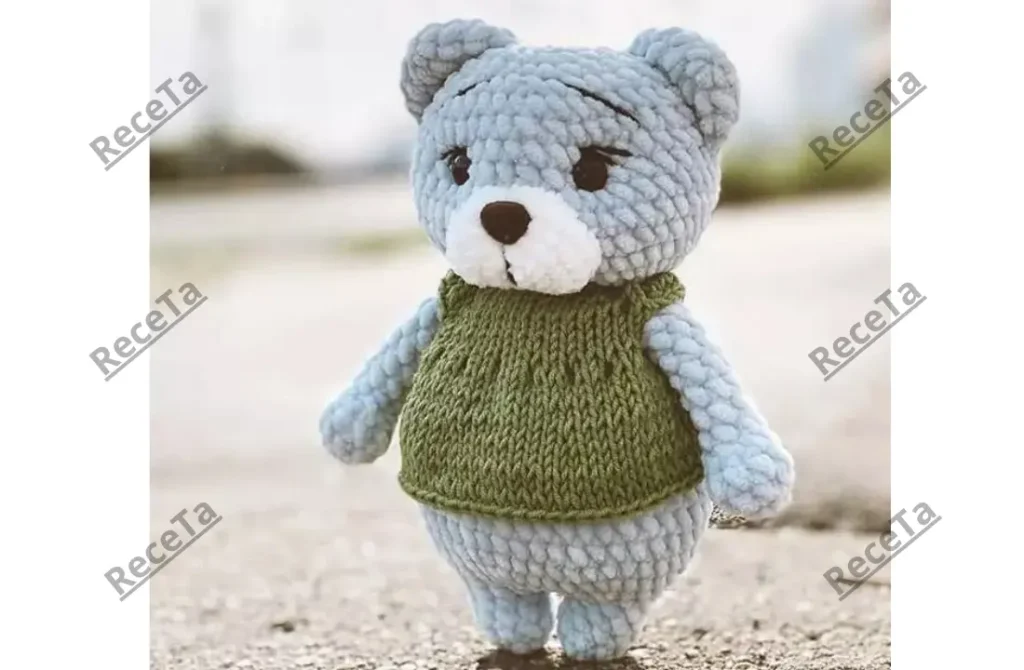
Insert the safety eyes between rows 33-34, leaving a distance of 5-6 sc between them.
Finishing the Bear
- Sew on the muzzle and embroider the mouth and nose with black yarn.
- Stuff the body and head as you go along.
- Attach the ears, making sure they are positioned symmetrically.
- Sew on the arms and tail.
- Weave in all loose yarn ends to finish the bear.
Enjoy your adorable plush bear!